Consider framing your subject in both landscape and portrait direction. Many people seem to forget they can simply turn their camera 90 degrees.
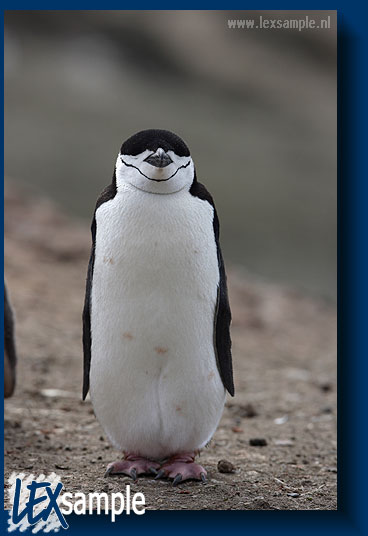
This penguin stands out nicely in portrait (vertical) mode.
Usually photographing an animal from the same height gives best results. Sometimes it means that you have to bent down on your knees or have to lay down on the ground (but be careful with your clothes, since penguin colony ground can be really muddy).
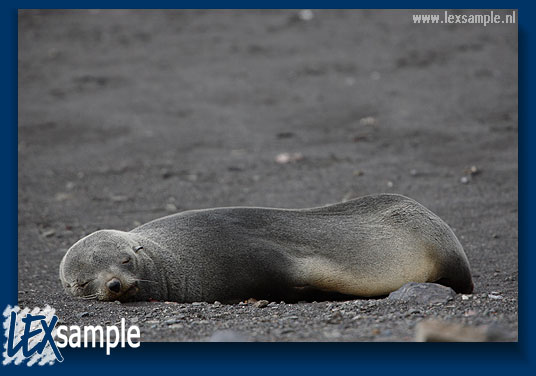
By chosing a low viewpoint you get the impression of lying next to this fur seal...
Avoid putting your subject always in the middle, which is quite predictable. Off centre your subject gets more tension.
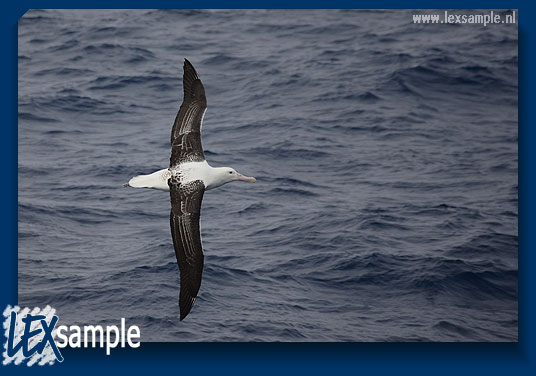
This albatross still has enough space on the right to fly (by the way birds in flight are quite a challenge to properly frame).
Avoid a dark-spot-somewhere-in-the-middle: zoom in whenever possible. Approach if you can - but never disturb wildlife.
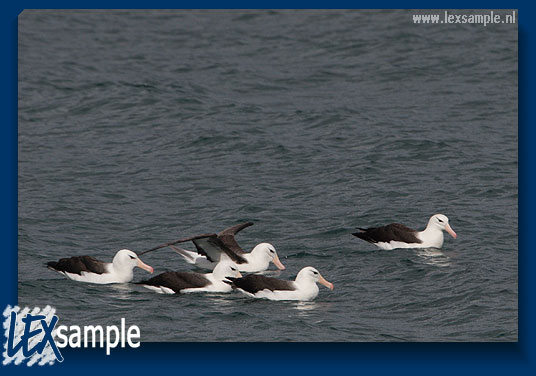
One single albatross would have been too far away to fill the frame. Approaching was not possible either. The solution was to take a picture of a small group of birds. Together they fill up the frame.
It is not uncommon for people to take a good picture of the subject, but forgetting about the background where ugly items spoil the picture, such as red and yellow sail jackets of other passengers, that do not belong in the natural setting. Moving a few inches will allow you to use the blue of an iceberg as a natural blackground for a penguin or a fur seal.
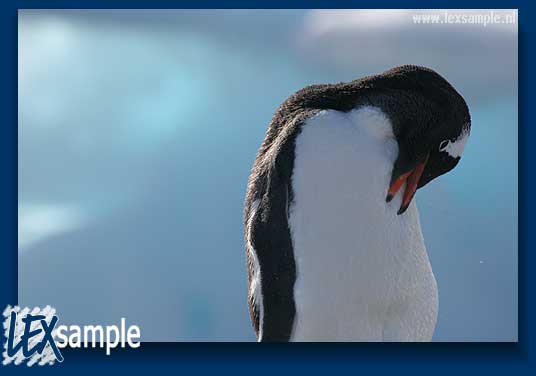
By shifting a little bit, I was could use the blue ice as a background for this penguin portrait.
Take a moment to look for interesting points of view, lines or structures that you can use?
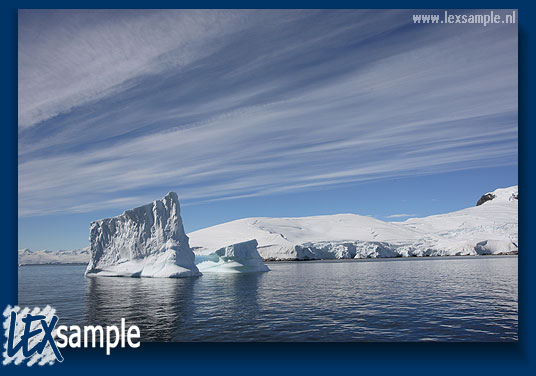
Lines in the sky and the shape of the iceberg create the structure in this photograph.
Take a couple of phoographs of the same topic; try different points of view, (high, low, front, side) or wait for the moment an animal starts to act (calling, yawning).

I knew this Giant Petrel was going to fly off, so it was only a matter of waiting for the right moment.
Pick an interesting detail rather than the entire topic: part of an animal, a piece of lichen on an old pole, a piece of volcanic rock
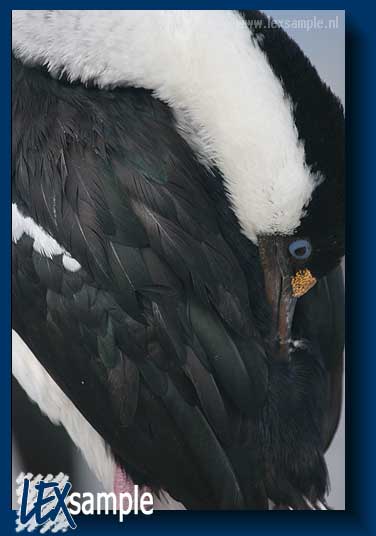
By zooming into this Blue-Eyed Shag, your photo becomes an interesting 'puzzle' with an alienenating effect.
Depict an animal in its own habitat, show something of its direct environment: a penguin retruning from sea and accessing the beach, a fur seal on an empty pebble beach.
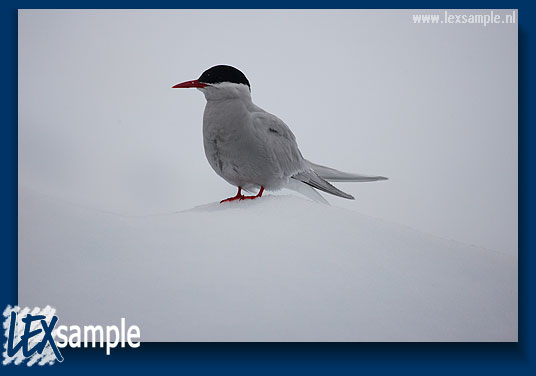
The Antarctisc Tern in its natural environment: ice.
Always focus on the eyes, not on the tip of the bill or the animal's snoot should they [uitsteken]. Our own eyes focus on the eyes of the image (or real animal) that we are looking at.
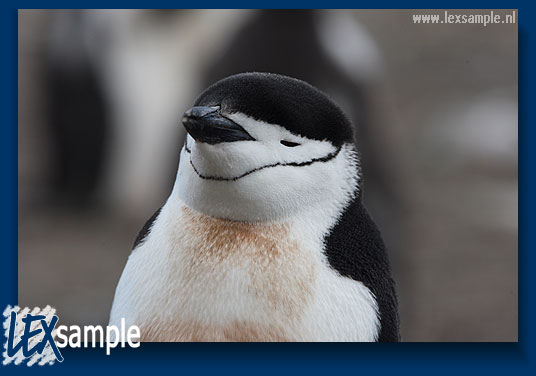
This photograph demonstrates that I did not focus on the bill tip, but on the eyes of the Chinstrap Penguin, even if they were closed.